

Hi!
In the middle of my DWR quilt - I have been trying to get this done..
for the FMQ Challenge 2015
which is being hosted by QuiltShopGal...formerly SewCalGal
and the Challenge can be found here
QuiltShopGal
and the Challenge can be found here
QuiltShopGal
.
I am going to be away for a couple of days next week..(hospital)
and recovering afterwards..so I am trying to get this done before I go.

I am using a piece I had ready to quilt..so first of all I made a trial Piece so I could
work out what to do .

I basted ( with invisifil top and bobbin ) with my Sweet Sixteen first...took out the pins.. and it worked really well
a first for me on this lovely machine.
I then used my ruler from Jamie Wallen at Quilters Opothacary which was SO easy to use ...to go round the straight lines of the Churn Dash block I had prepared ..

Then I was trying to work out what threads to use.
I used the Burgundy Invisfil Thread for the edges of the coloured fabric... and had
An Aurifil 50 wt thread in the bobbin.
I did change the colour to gold (Inviaifil in the top and Aurifil in the bobbin again)though for the white areas...I just wish I had Stuck to Invisifil in the bobbin though, as I have had some problems with tension
Fortunately I am very patient.
I used a size 10 needle in my Sweet Sixteen

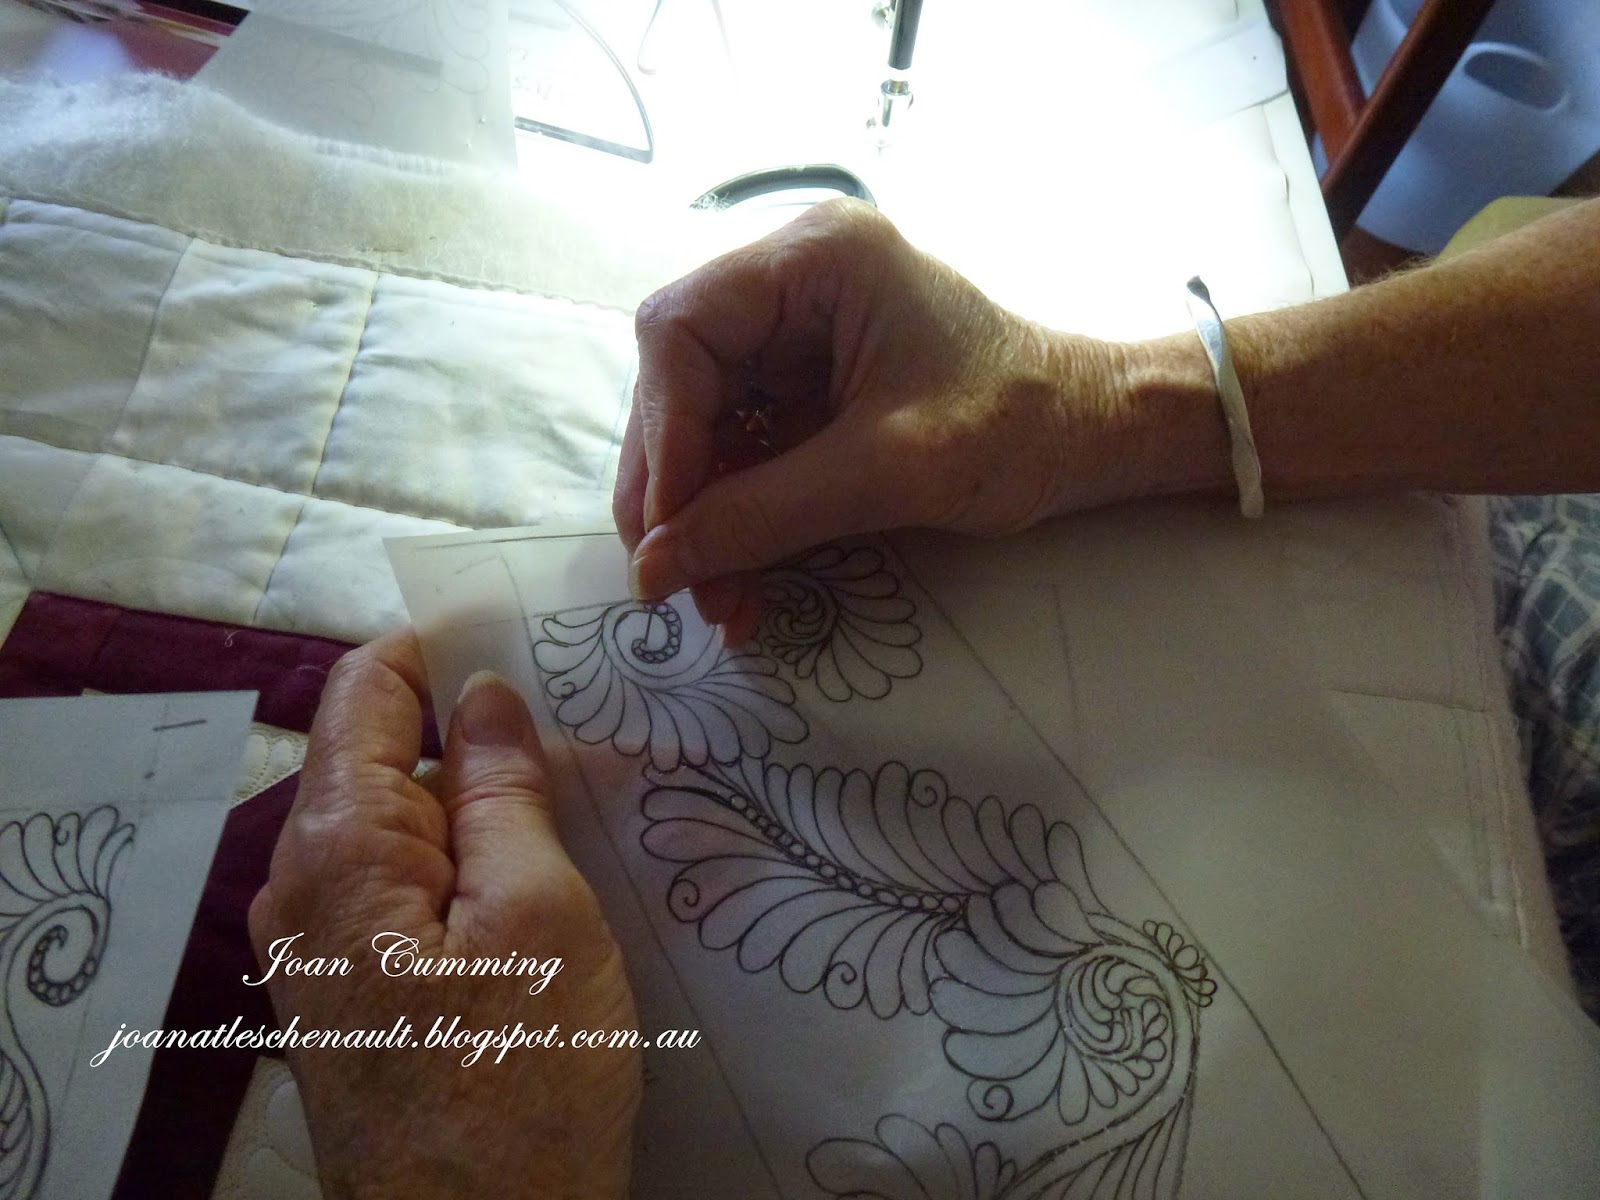
I have a large pad of architects drafting paper that I use to work out designs...
Above is what I started to do first
O course I changed my mind and finished with the one you see me working on below
.
Then as I didn't want to ruin my original design.. I did the outline with a fine black marker... and then I worked out that I had to get my design printed on some white paper so I could
reverse what I had drawn. in order to get a print for each side of the graph paper
I hope this makes sense.
I backed the drafting paper design with a sheet of white paper and photo copied this ...then reversed the design again backed with white paper to print clearer and... then I had a white sheet of the pattern and a white copy of the original...1/8 of the design needed for the border.
As I needed to have the design on the actual architects paper so I could see through it to get the design on in the correct place..(.and discovered that the printer would not pick this up... )I glued just the top 1/2 inch of the drafting paper to a plain white sheet.. and this enabled me to get the actual drafting paper printed on..
Phew
Then I made pin points through the design so I could place it where it
needed to be placed on the border.
Yes it took time.
\
I cut some of the white paper apart to see what it would all look like, though I was pretty sure I liked this one

Then I started to put the design on the fabric with a pounce pad and blue chalk.
I was then able to get the feathers on in place - sort of :)
The blue marking is with a Berol school ink pen from the UK...
I have used this previously, but it does take a fair while to soak out... a day or so
otherwise no problems.
The Purple is a purple vanishing marker,also from the UK which worked better.
The marking made such a messy picture after I did the main quilting and it was hard for me to see where I was gong
SO..

So I soaked what I had done and removed the basting stitches.
Here you can see the piece soaking in the water with a colour catcher ( just in case the red colour ran) and as I hope you can see... the marks came out.

Quilted piece is blocked on my design board...
you can see the extra pieces of fabric on some edges... I used these to check tension on.

Front of piece is dry and ready to continue with my quilting... with all the blue marks soaked out

Back showing quilting to this point..
So far I am pleased with what I have done...as I have only had my machine since just before Christmas!

Sewing the back ground fill in the border - using my Sweet Sixteen

Sewing design completed...Back

Design completed ...front

Pinning the piping ready to put the back of the cushion on

Pinning the back of the cushion.. which attaches the piping at the same time

'Birthing' of the cushion :)

The cushion is born!

Completion.
Now I can go relax...read, and get myself ready for my trip to hospital on Tuesday :)
Or maybe sort my DWR out if I have time and get some more sewn on that!
Have a wonderful weekend everyone.


