Welcome


Hi,

Welcome to my blog.

Thank you for visiting me :)

I hope you enjoy seeing what I have been up to
and that you visit again


Saturday, January 24, 2015

Designs, FMQ Challenge 2015,

Hi!
In the middle of my DWR quilt - I have been trying to get this done..

for the FMQ Challenge 2015
which is being hosted by QuiltShopGal...formerly SewCalGal
and the Challenge can be found here
QuiltShopGal
.
I am going to be away for a couple of days next week..(hospital) 
and recovering afterwards..so I am trying to get this done before I go.


I am using a piece I had ready to quilt..so first of all  I made a trial Piece so I could
work out what to do .


I basted ( with invisifil top and bobbin ) with my Sweet Sixteen first...took out the pins.. and it worked really well 
a first for me on this lovely machine.
I then used my ruler from Jamie Wallen at Quilters Opothacary which was SO easy to use ...to go round the straight lines of the Churn Dash block I had prepared ..


Then I was trying to work out what threads to use.  
I used the Burgundy Invisfil Thread for the edges of the coloured fabric... and had
An Aurifil 50 wt thread in the bobbin.
I did change the colour to gold  (Inviaifil in the top and Aurifil in the bobbin again)though for the white areas...I just wish I had Stuck to Invisifil in the bobbin though, as I have had some problems with tension

Fortunately I am very patient.
I used a size 10 needle in my Sweet Sixteen


I have a large pad of architects drafting paper that I use to work out designs...
Above is what I started to do first 


O course I changed my mind and finished with the one you see me working on below
.  
Then as I didn't want to ruin my original design.. I did the outline with a fine black marker... and then I worked out that I had to get my design printed on some white paper so I could 
reverse what I had drawn. in order to get a print for each side of the graph paper

I hope this makes sense.

I backed the drafting paper design with a sheet of white paper and photo copied this ...then reversed the design again backed with white paper  to print clearer and... then I had a white sheet of the pattern and a white copy of the original...1/8 of the design needed for the border.

As I needed to have the design on the actual architects paper so I could see through it to get the design on in the correct place..(.and discovered that the printer would not pick this up... )I glued just the top 1/2 inch of the drafting paper to a plain white  sheet.. and this enabled me to get the actual drafting paper printed on..

Phew
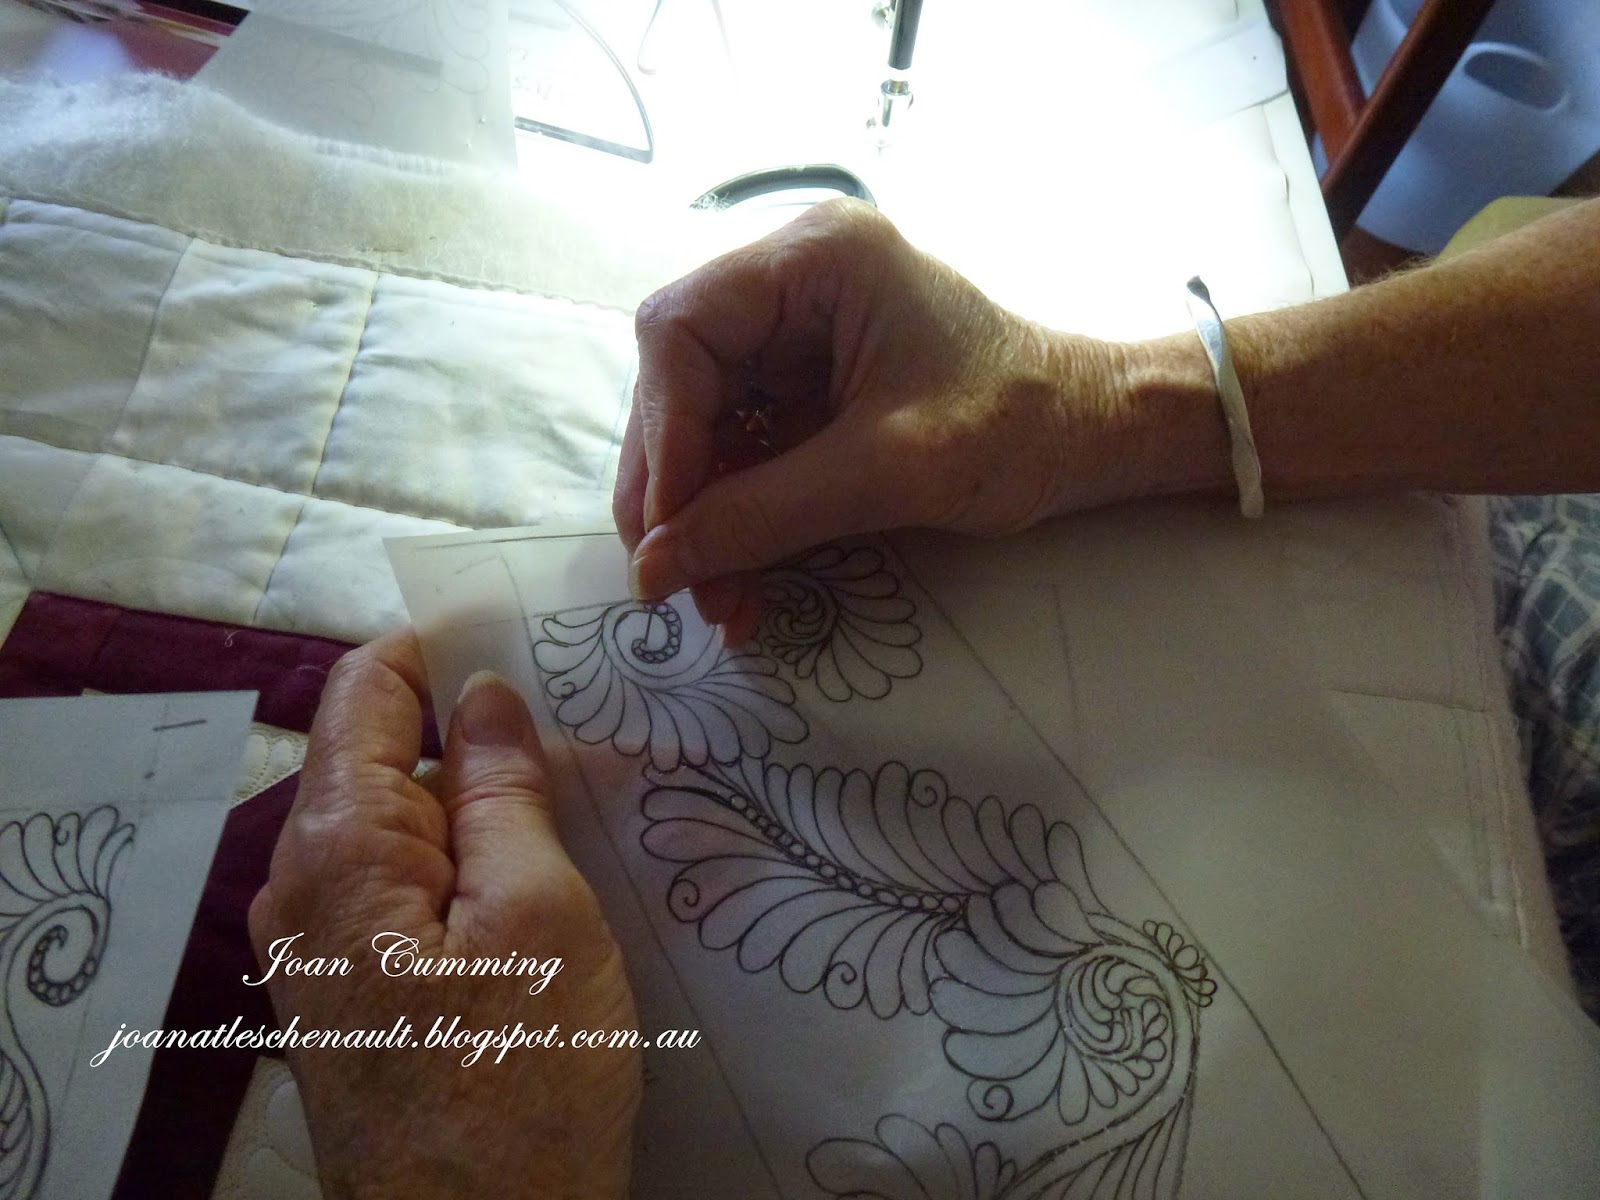

Then I made pin points through the design so I could place it where it 
needed to be placed on the border.

Yes it took time.

\
I cut some of the white paper apart to see what it would all look like, though I was pretty sure I liked this one


Then I started to put the design on the fabric with a pounce pad and blue chalk.
I was then able to get the feathers on in place - sort of :)

The blue marking is with a Berol school ink pen from the UK...
I have used this previously, but it does take a fair while to soak out... a day or so
otherwise no problems.

The Purple is a purple vanishing marker,also from the UK which worked better.

The marking made such a messy picture after I did the main quilting and it was hard for me to see where I was gong
SO..


So I soaked what I had done and removed the basting stitches.
Here you can see the piece soaking in the water with a colour catcher ( just in case the red colour ran) and as I hope you can see... the marks came out.

Quilted  piece is blocked on my design board...
you can see the extra pieces of fabric on some edges... I used these to check tension on.


Front of piece is dry and ready to continue with my quilting... with all the blue marks soaked out


Back showing quilting to this point..

So far I am pleased with what I have done...as I have only had my machine since just before Christmas!


Sewing the back ground fill in the border - using my Sweet Sixteen


Sewing design completed...Back


Design completed ...front


 Pinning the piping ready to put the back of the cushion on


Pinning the back of the cushion.. which attaches the piping at the same time


'Birthing' of the cushion :)


The cushion is born! 


Completion.

Now I can go relax...read, and get myself ready for my trip to hospital on Tuesday :)

Or maybe sort my DWR out if I have time and get some more sewn on that!

Have a wonderful weekend everyone.


Wednesday, January 07, 2015

FMQ, DWR,

I have so many things to put up... and the heat here is not nice, so I thought I would put up what I have done for my DWR Quilt so far...of the  Wedding present quilt - which of course is late :(
I completed the outside circles a couple of days ago.. and have now completed the first full circle
 
 
This video shows how I managed when sewing the outer circles
 
 
The back of the quilt with outer circles completed!


I am now up to completing full circle Number 3... a long way to go..
  I still have a lot of photos to put up...
Later.. in the meantime - back to sewing!

Tuesday, December 23, 2014

Merry Christmas and a appy New Year

To all my special online friends...

wishing you all a Merry Christmas and a wonderful year ahead.

I hope to put some photos up after the holidays.

Much love...Joan

Wednesday, December 10, 2014

Sneak Peek, FMQ, on the HQ Sweet Sixteen,


Here is a Sneak Peek of my current FMQ 

My own design..... trapunto.


Bad Lighting I know... but its a sneak peek
!

Sunday, December 07, 2014

HQ Sweet Sixteen, Designs, FMQ and playing,

Made yesterday on the Sweet Sixteen.

Just have the bindng to put on it..
Its a lovely design by Sherry Rogers Harrison, which I love.


Having a great time playing.

Wednesday, December 03, 2014

FMQ and playing,

Hello again

I have had a bit of a nothing time as I have had health issues..which we are dealing with...however, today I have had some real fun..  
Practicing of course

 Front
and Back!

I love the fabric in this single ring... and may even ...one day do some more of these.
I am WAY behind in my DWR quilt, but am glad I unpicked what I have done.
 
It was great to have a go at the maybe design I will do.

All for now... I am back to practicing ...hopefully..
 
Having fun again with my sewing!


Monday, October 27, 2014

FMQ, Finished quilts, Designs,

Another finish in between unpicking.  

I was asked to make a baby quilt for an expected baby Boy.

This is The Ladybug Party.. Ladybugs being my trademark - usually hidden in the quilt.


 I completed it and gave it yesterday... with 3 weeks to go!


It is sewn with yli 100 silk and double batted.. wool and cotton
My own design and FMQ
.


Nothing too dense , although it was tempting.. and the design sewn larger than I normally do.

 I used my Drunkards Path Go Cutter die for this and it went together very easily.


Ladybugs everywhere :)


 I designed the feathers to fit the spaces and used a little contrast with the straight lines...where I used my ruler.

So one more finish..

and now back to my unpicking!


Thursday, October 23, 2014

DWR


I started on my quilting on this quilt..
Basted the edges with wash-away thread..
started the wrong way!!
lots of problems with tensions.. then my Bernina 820 locked up
(thankfully THAT is sorted)  and I had resorted to sewing what I have done on my 440QE

Didn't stick to the plan I posted previously!       thtoopid!!


Did this instead!

Very silly!!


This is what has happened..  so

Out it all comes  ... all of it.

So mad with myself!!

I will frog, unpin, maybe add a second batting...starch some more...repin.
I am going to be very busy.

Think my deadline will change..

Saturday, October 18, 2014

Workshops Designs, DWR., FMQ,

After a recent workshop  by Michelle Pearson at Handcrafters House with Jamie Wallen,
 and so inspired by his feathers - who wouldn't be  :)
I felt like I could get on with the design of the DWR quilt...which has been all ready to quilt for a while now


 ( Me with Jamie and Rich)
It was a fabulous workshop of four days ..very intense and so full of learning, fun and laughter


So onto the design of the DWR quilt...
I had more of less decided on this..
 

But really liked this.... then thought I may never get it finished in time..

However...this is the one I have decided to do.  I have drawn over a photo of the quilt.. using a clear plastic and a black marker, which in itself is a great practise..


This is my Practice piece of quilting
Ignore the celtre... I had a bit of trouble getting the tension right  for top and bottom using Glide thread - took most of the day but finally got it.
Now I will hopefully start the basing on the edges and have a huge load of ditch work to get done
which I will do with the dusty mono-filament top and hopefully Glide in the bobbin.

I will try to keep up with sneak peaks along the way


Tuesday, October 07, 2014

Dr Who Quilt, FMQ,

At last I have got something to show, and its taken my a while to get back here..

I finally completed The Dr Who quilt for my Granddaughters 18th Birthday!!
It was not an easy quilt for me to figue out, as I am not really
 a fan of Dr Who ... but I got there and thankfully my GD loved it

So here are some photos...probably way too many...


The photos were the most difficult for me...especially the lovely Tenth Doctor :)
Which is Andrea's favorite.
The words Doctor Who in Galifreyan were not easy either... but there you are 

I have never tried to quilt photos before...
and then I used a lot of fillers... and had fun with planets..

There are plenty of planets... wormholes,  and a row of space ships around all the borders


and eight Darleks too.. plus the planet with its extra large moon is Galefrey
 ( which I am not sure how to spell )

 I really did enjoy doing the ruler work too


 and a Tardis in each corner


Two more of the Darleks

 And a circle of marching ladybugs


More Darleks

Some tiny feathers


Not sure about this one.. but it was fun to do


Spinning planet


Somewhere in the quilt is a dragon... and our own planet system... with a large sun


Anyway it has taken me WAY too long to get this posted and way too many photos...
so hope you enjoy what I have done...
 As I mentioned at the beginning of the post..it has not been an easy quilt for me,
I am so happy it has gone to a home where it will be appreciated.

So now onto the next project.. which is almost there.